Breathe Easy: A Step-by-Step Guide to Regulator Maintenance (with Photos!)
Breathe Easy: A Step-by-Step Guide to Regulator Maintenance (with Photos!)
Your regulator is the lifeline between you and the precious air in your scuba tank. It's a marvel of engineering that allows you to breathe comfortably underwater, turning high-pressure gas into a gentle, life-sustaining flow. A malfunctioning regulator isn't just inconvenient; it can be downright dangerous. Imagine struggling for air at depth – that's a situation no diver wants to face!
But fear not, intrepid divers! With a little know-how and some basic maintenance, you can keep your regulator in tip-top shape, ensuring safe and enjoyable dives for years to come. Not only that, but regular upkeep will save you money in the long run. A little preventative maintenance is far cheaper than a major repair or, worse, a complete regulator replacement.
In this guide, we'll walk you through a step-by-step process for performing basic regulator maintenance. We've included a series of photos to visually guide you through each stage, making the process easy to understand and follow. Get ready to roll up your sleeves and give your regulator the TLC it deserves! Let's get started!
Understanding Your Regulator: A Quick Overview
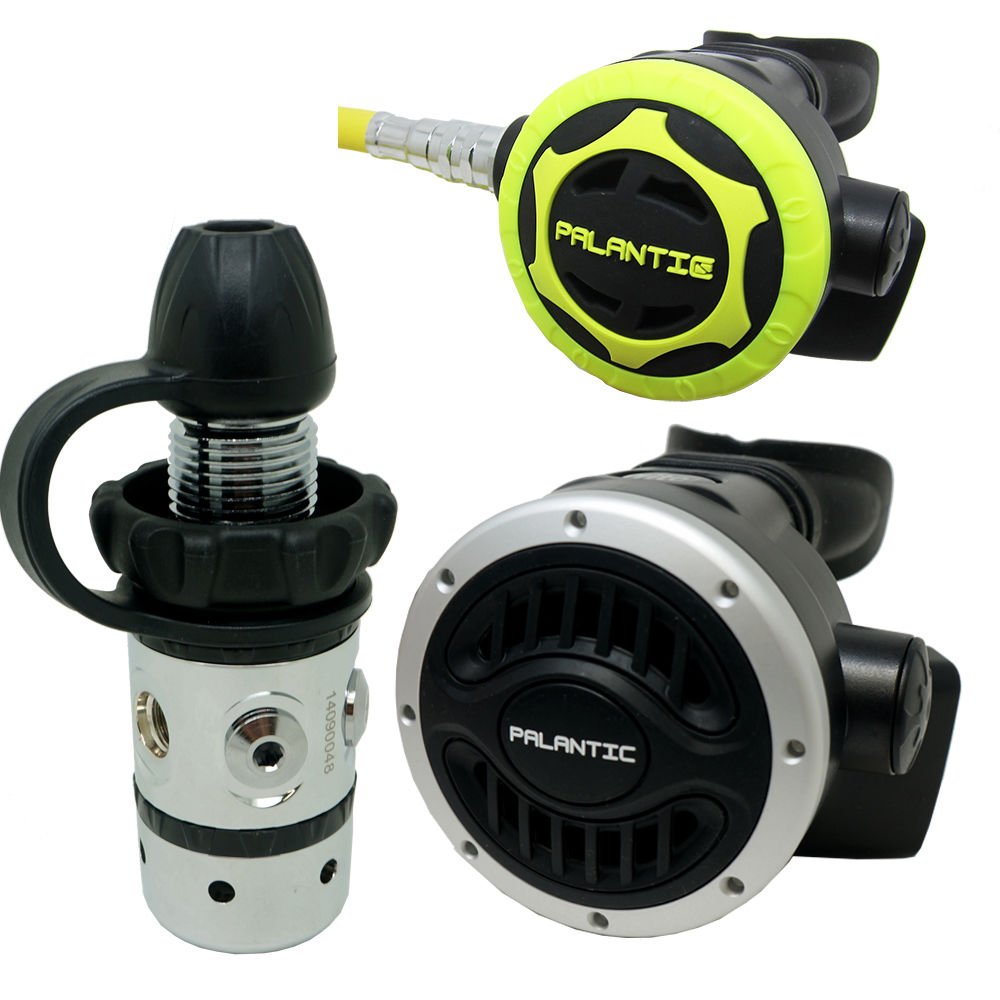
Before we dive into the nitty-gritty, let's take a moment to understand the two key stages of your regulator: the first stage and the second stage.
The first stage is the part that attaches directly to your scuba tank. Its primary function is to reduce the high pressure from the tank (often 2000-3000 psi) to a more manageable intermediate pressure (IP), typically around 130-150 psi. This is achieved through either a diaphragm or a piston mechanism. Think of it as the initial pressure reducer, setting the stage for comfortable breathing.
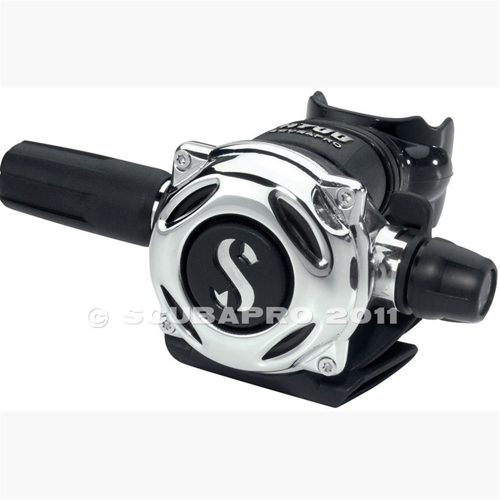
The second stage, which includes the mouthpiece, is what you actually breathe from. It further reduces the intermediate pressure from the first stage to a pressure that's comfortable and easy to inhale. This is typically achieved by a demand valve that opens when you inhale, allowing air to flow. Many regulators, like those from Scubapro, Aqua Lung, or Atomic Aquatics, offer adjustable second stages, allowing you to fine-tune the breathing resistance to your preference.
Don't forget your alternate air source regulator, often called an octo or AIR2. This is your buddy's lifeline (or yours, in an emergency). It works just like your primary second stage and should receive the same care and attention.
Tools and Materials You'll Need
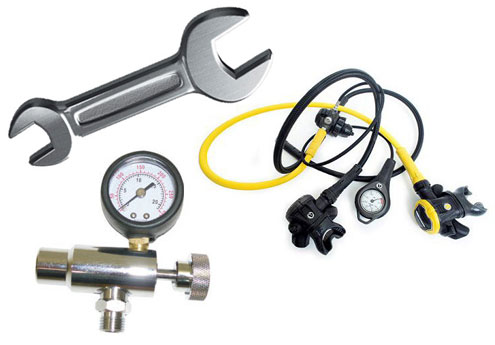
Alright, let's gather our tools and materials. Having everything organized and readily available will make the maintenance process much smoother. Here's what you'll need:
- Adjustable Wrench: For loosening and tightening fittings.
- Regulator Tool (if applicable): Some regulators require a specific tool for disassembly. Check your regulator's manual.
- Soft-Bristled Brush: For gently cleaning parts. An old toothbrush works great!
- Plastic Picks: For removing o-rings and cleaning tight spaces. Avoid using metal picks, as they can scratch surfaces.
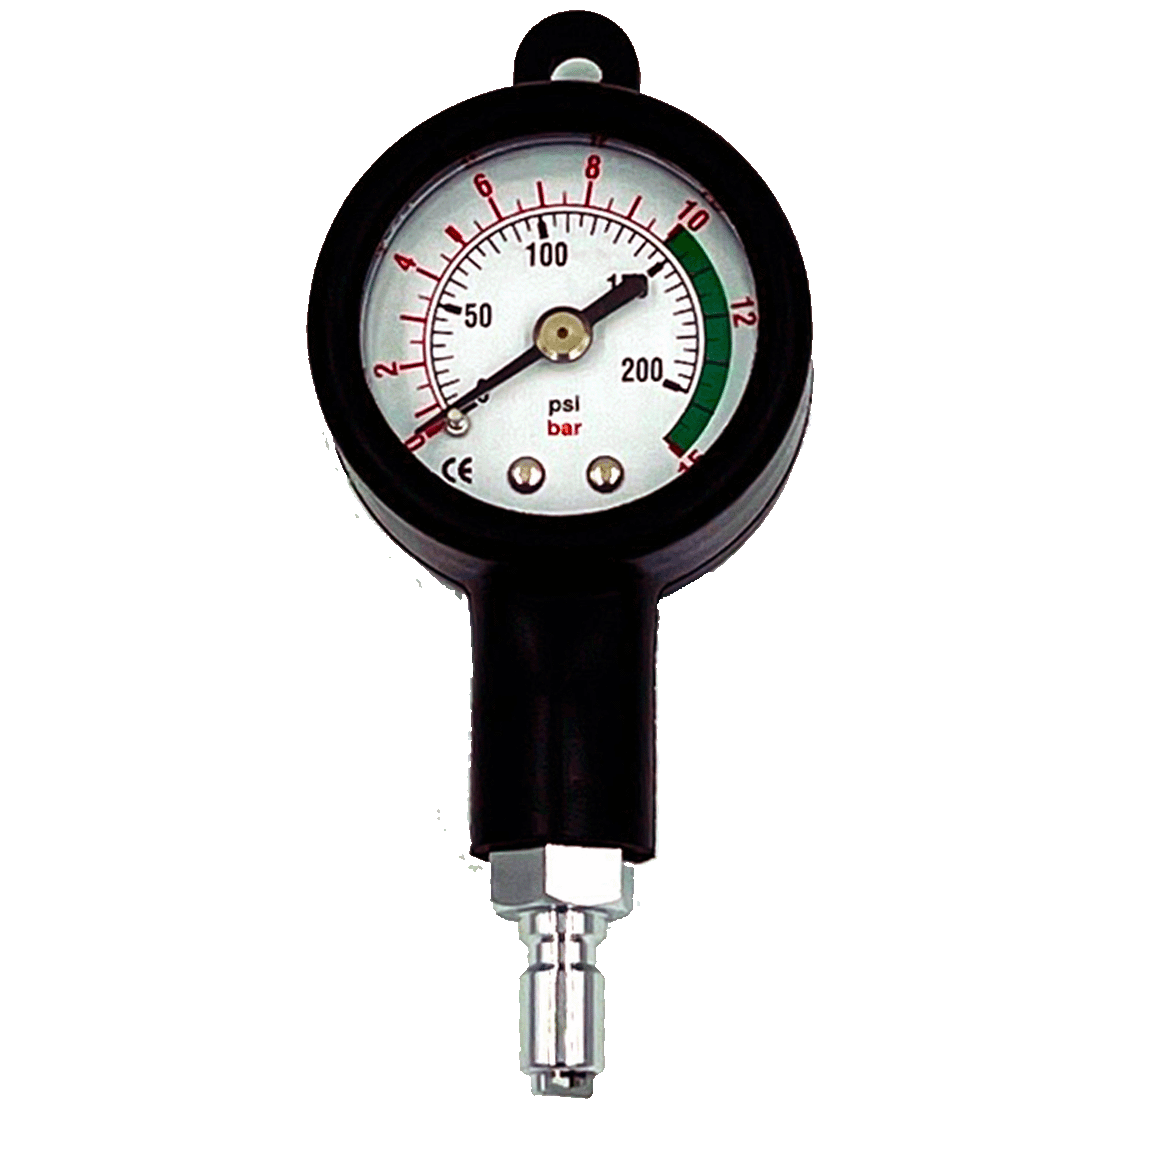
- IP Gauge (Intermediate Pressure Gauge): Essential for testing and adjusting the intermediate pressure after reassembly.
- Small Container: For soaking parts in cleaning solution.
- Mild Dish Soap: For cleaning metal parts.
- Fresh Water: For rinsing all parts thoroughly.
- Regulator-Specific Cleaner (optional): For more thorough cleaning, especially if your regulator has been exposed to saltwater.
- Silicone Grease (Regulator-Specific): Absolutely crucial for lubricating o-rings and other parts. Never use petroleum-based grease, as it can damage the regulator.
- Clean Lint-Free Cloths: For drying parts.
- Zip Ties or Regulator Clips: For securing hoses during reassembly.

Step 1: Pre-Maintenance Inspection
Before you start taking things apart, give your regulator a thorough visual inspection. This will help you identify any potential problems and prioritize your maintenance efforts.
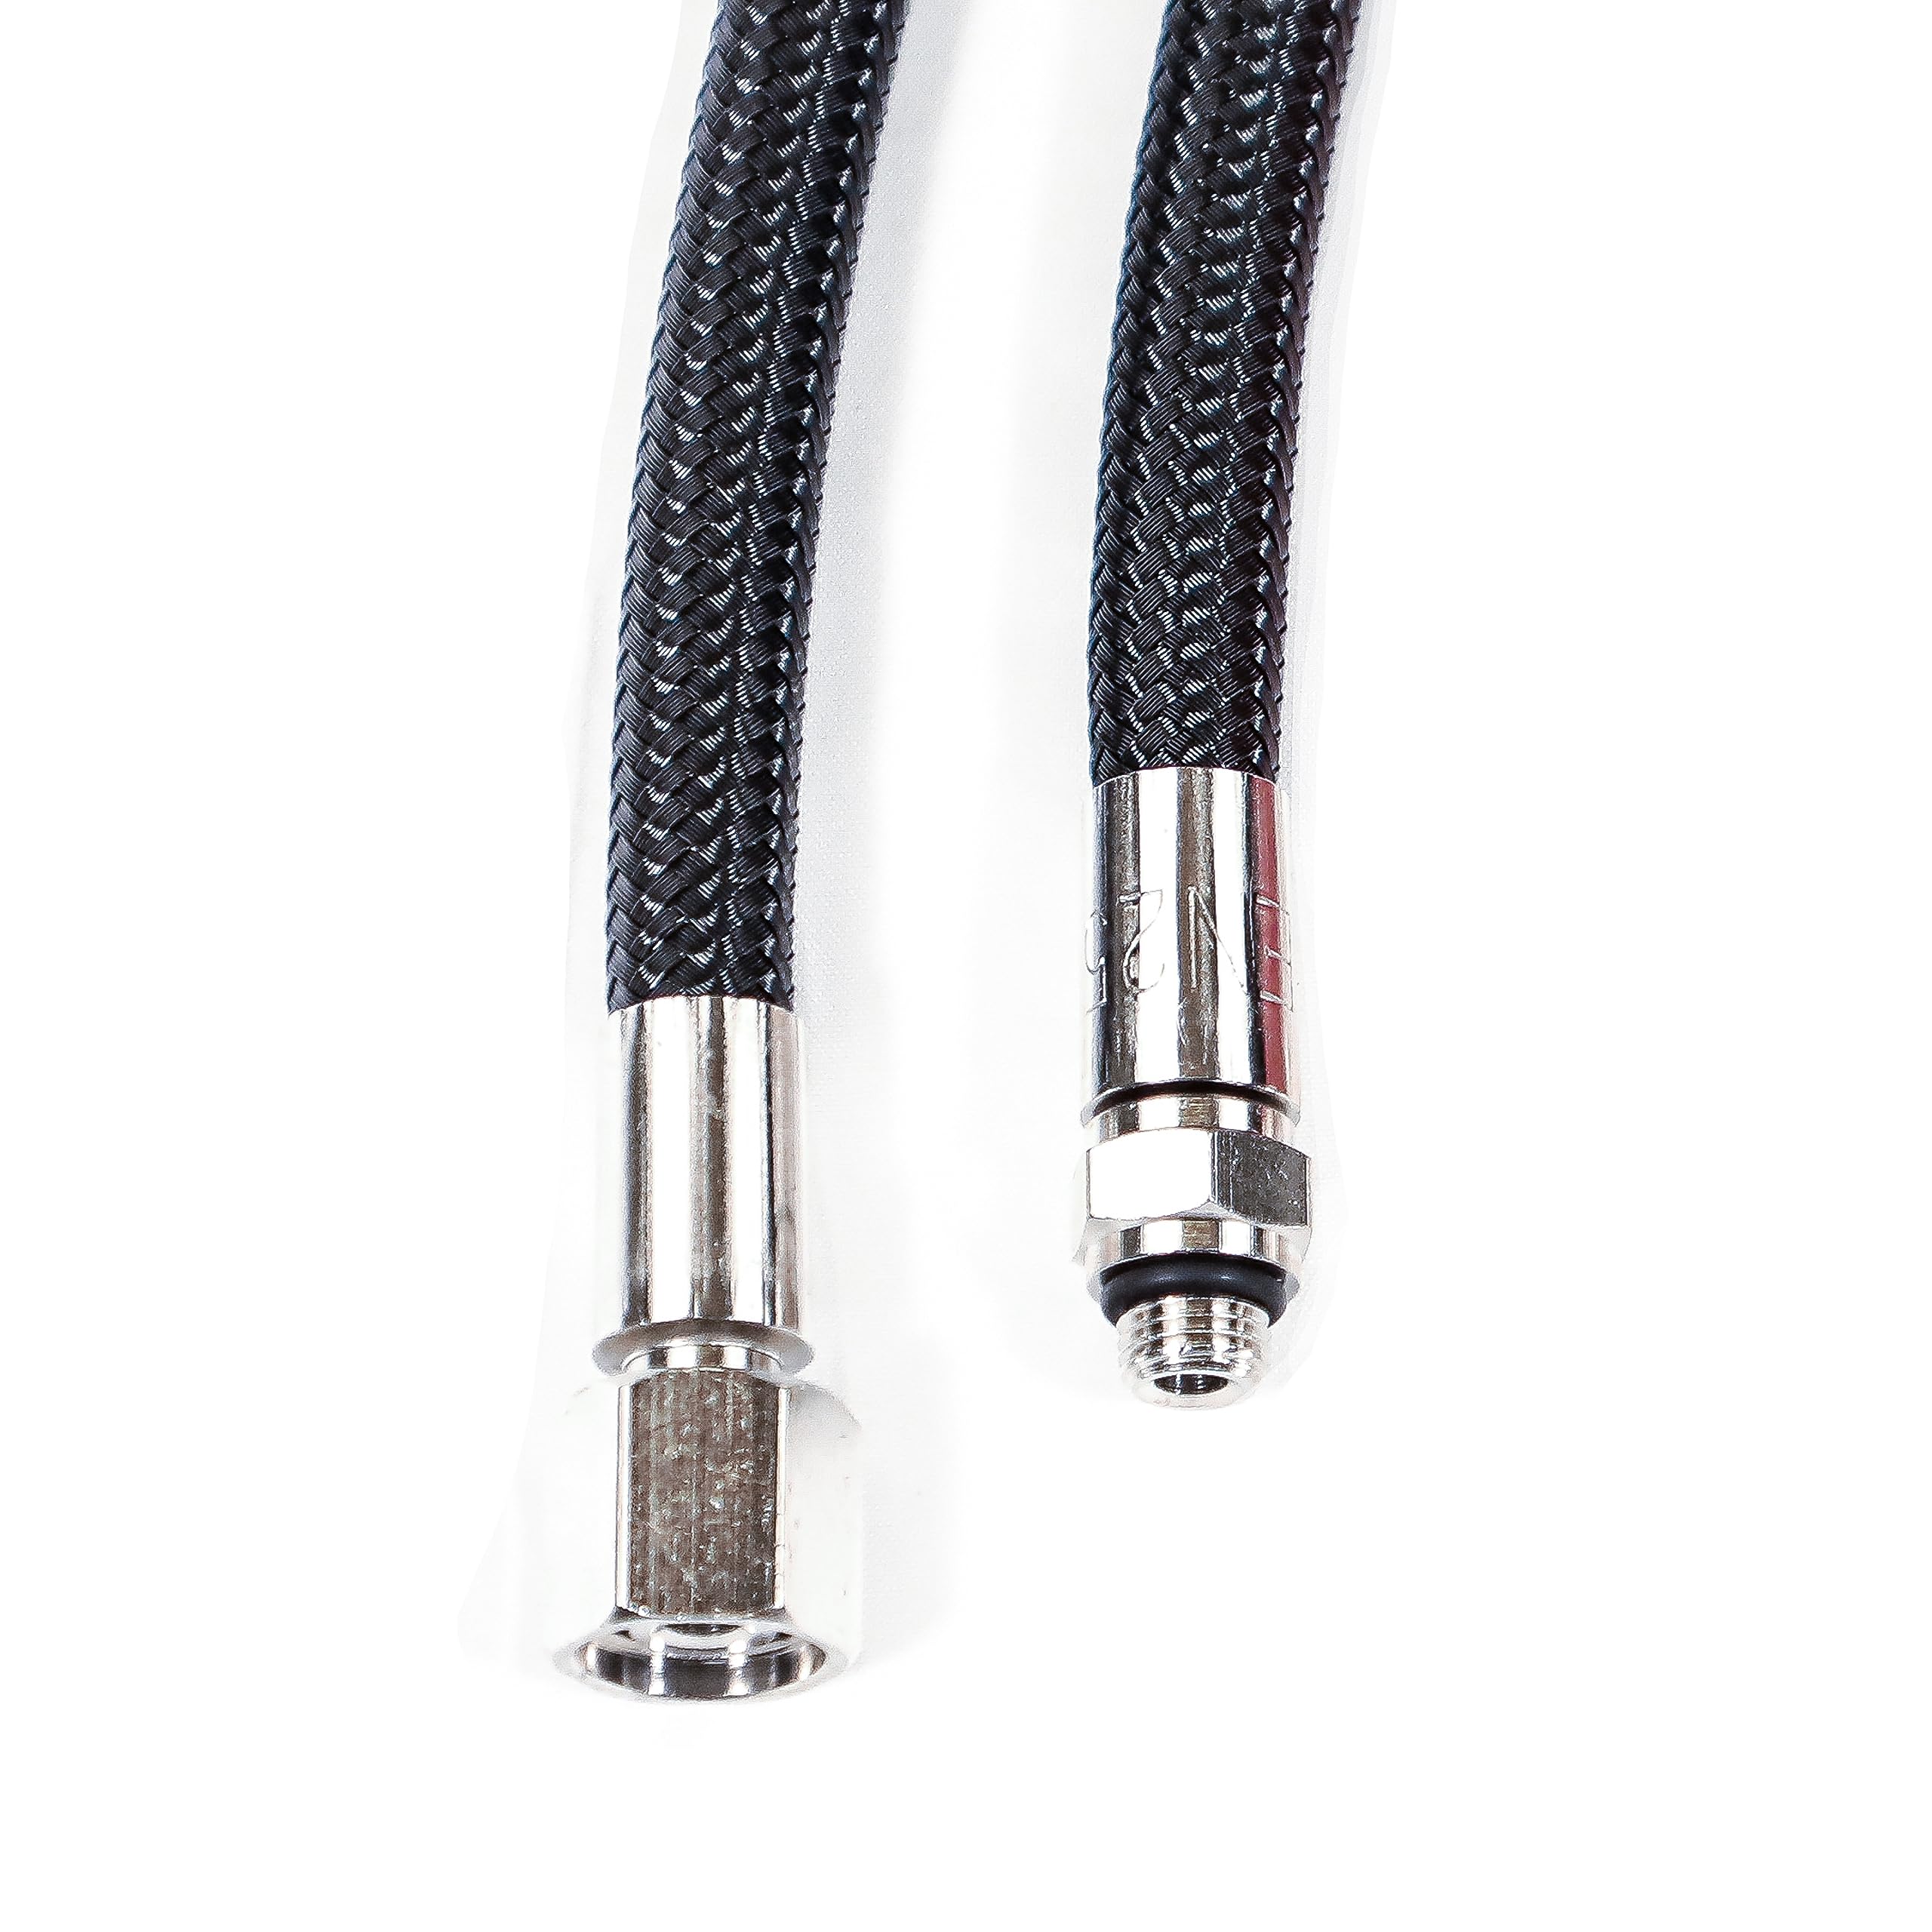
- Hoses: Carefully inspect all hoses for any signs of damage, such as cracks, cuts, abrasions, or bulges. Pay close attention to the areas where the hoses connect to the regulator stages.
- Mouthpiece: Check the mouthpiece for tears, cracks, or other damage. A damaged mouthpiece can compromise your ability to breathe comfortably.
- O-rings: Examine all visible o-rings for dryness, cracking, or swelling. These are critical for sealing connections and preventing leaks.
- Purge Button: Test the purge button on the second stage. It should operate smoothly and release air freely.
- Listen Carefully: If possible, before disassembly, connect the regulator to a tank and listen for any unusual noises, such as hissing or squealing. Also, feel for any unusual resistance when breathing. These could indicate underlying issues.
Tip: Keep a small notebook handy to jot down any observations or notes during your inspection. This will be helpful during reassembly.
Step 2: Disassembling the First Stage
Now, let's get to the disassembly! Before you start, find a clean and well-lit workspace. A clear surface will help you keep track of all the small parts.
- Remove the Yoke or DIN Fitting: Depending on your regulator type, you'll either have a yoke or a DIN fitting that connects to the tank. Use the adjustable wrench to loosen and remove this fitting.
- Remove the HP and LP Port Plugs: Using the adjustable wrench, carefully remove the high-pressure (HP) and low-pressure (LP) port plugs. These plugs seal the ports that are used to connect gauges and hoses.
- Remove the Environmental Seal (if present): Some regulators have an environmental seal that protects the internal components from contamination. If your regulator has one, carefully remove it.
- Separate the Diaphragm or Piston: This is the heart of the first stage. Depending on your regulator type, it will either have a diaphragm or a piston. Consult your regulator's manual for specific instructions on how to remove it.
- Important! As you disassemble the first stage, pay close attention to the order and orientation of all the parts. Take photos as you go to help you remember how everything fits back together. Place all small parts in a container to prevent them from getting lost.

Tip: If you encounter any resistance during disassembly, don't force it! Consult your regulator's manual or seek professional help.
Step 3: Disassembling the Second Stage
Next up, the second stage! This process is similar to the first stage disassembly, but with a few different components.
- Remove the Front Cover: Most second stages have a front cover that is held in place by a retaining ring or screws. Carefully remove the cover.
- Remove the Diaphragm: The diaphragm is a flexible rubber membrane that senses changes in pressure and controls the flow of air. Gently remove the diaphragm.
- Remove the Lever or Valve: The lever or valve controls the flow of air from the first stage to the mouthpiece. Consult your regulator's manual for specific instructions on how to remove it.
- Remove the Exhaust Valve: The exhaust valve allows you to exhale air underwater. Carefully remove the exhaust valve.
- Remove the Mouthpiece (if desired for cleaning): The mouthpiece can be removed for thorough cleaning.
- Again, Important! Just like with the first stage, pay close attention to the order and orientation of all the parts as you disassemble the second stage. Take photos and keep track of all small parts.

Tip: Be especially careful when removing the diaphragm, as it is delicate and can be easily damaged.
Step 4: Cleaning and Inspecting the Parts
Now that you've disassembled your regulator, it's time to clean and inspect all the parts.
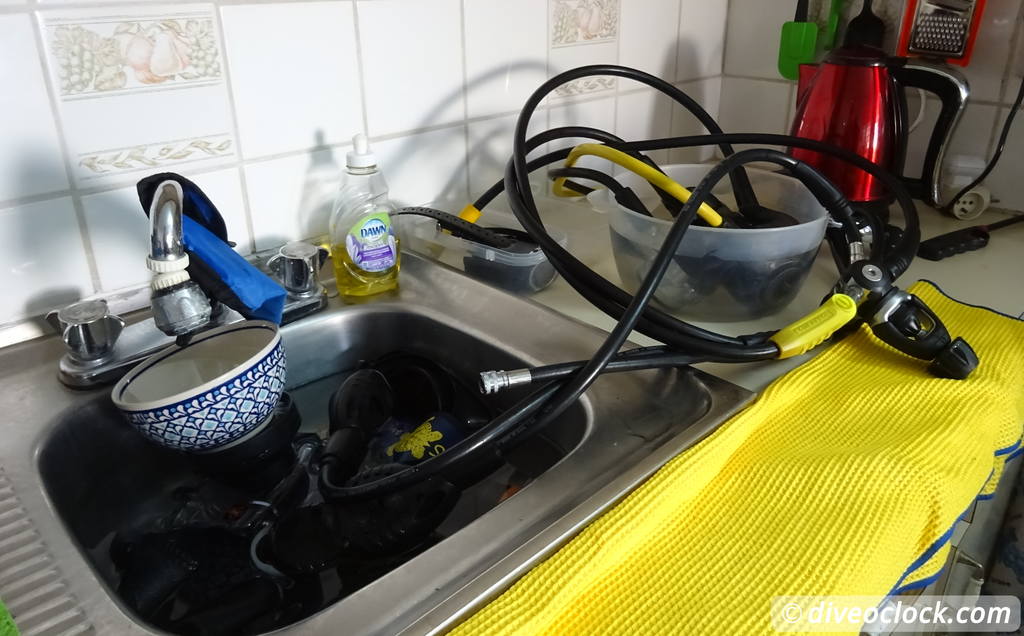
- Soak Metal Parts: Soak all metal parts in a container of warm water with a small amount of mild dish soap.
- Clean with a Brush: Use a soft-bristled brush to gently clean all parts, removing any dirt, debris, or saltwater residue.
- Rinse Thoroughly: Rinse all parts thoroughly with fresh water to remove any soap residue.
- Inspect O-rings: Carefully inspect all o-rings for damage, such as cracks, cuts, or swelling. Replace any damaged o-rings with new ones.
- Inspect Diaphragms: Inspect the diaphragms for cracks, tears, or other damage. Replace any damaged diaphragms.
- Inspect Valve Seats: Inspect the valve seats for wear and tear. If the valve seat is damaged, it may need to be replaced by a professional.
Tip: Use a magnifying glass to inspect the o-rings and valve seats for any signs of damage.
Step 5: Lubricating the Parts
Proper lubrication is essential for ensuring smooth operation and preventing corrosion.
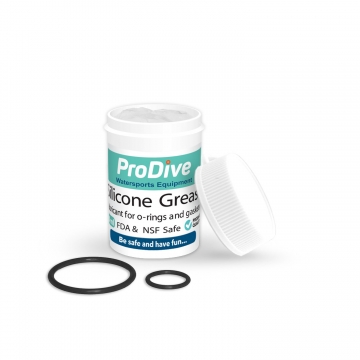
- Use Regulator-Specific Silicone Grease: Only use silicone grease that is specifically designed for regulators. Petroleum-based grease can damage the regulator.
- Apply a Thin Layer to O-rings: Apply a thin layer of silicone grease to all o-rings before reassembly.
- Apply a Thin Layer to the Valve Seat (if applicable): If your regulator has a separate valve seat, apply a thin layer of silicone grease to it.
- Avoid Over-Lubricating: Avoid over-lubricating the parts, as this can attract dirt and debris.
Tip: Use a cotton swab to apply the silicone grease to the o-rings and valve seat.
Step 6: Reassembling the Second Stage
Now, let's put the second stage back together! Refer to the photos you took during disassembly to ensure that you reassemble the parts in the correct order and orientation.
- Reinstall the Exhaust Valve:
- Reinstall the Lever or Valve:
- Reinstall the Diaphragm:
- Reinstall the Front Cover:
- Reinstall the Mouthpiece (if removed):
Ensure that all parts are properly aligned and seated.
Tip: Use your fingers to gently press the diaphragm into place.
Step 7: Reassembling the First Stage
Time to reassemble the first stage! Again, refer to your photos and notes to ensure that you reassemble the parts correctly.
- Reinstall the Diaphragm or Piston:
- Reinstall the Environmental Seal (if present):
- Reinstall the HP and LP Port Plugs:
- Reinstall the Yoke or DIN Fitting:
Ensure that all parts are properly aligned and seated.

Tip: Tighten the yoke or DIN fitting securely, but do not overtighten it.
Step 8: Testing and Adjusting the Regulator
After reassembly, it's crucial to test and adjust your regulator to ensure that it's functioning properly.
- Connect to a Scuba Tank: Connect the regulator to a scuba tank.
- Check the Intermediate Pressure (IP): Use an IP gauge to check the intermediate pressure. The IP should be within the manufacturer's specifications.
- Adjust the IP (if necessary): If the IP is not within the specified range, adjust it according to the manufacturer's instructions.
- Test the Purge Button: Test the purge button on the second stage. It should operate smoothly and release air freely.
- Listen for Leaks: Listen carefully for any leaks or unusual noises. If you hear any leaks, tighten the connections or replace the o-rings.
Tip: If you are not comfortable testing and adjusting the regulator yourself, take it to a certified technician.
Step 9: Post-Maintenance Care and Storage
Proper post-maintenance care and storage will help extend the life of your regulator.
- Rinse After Each Dive: Rinse the regulator thoroughly with fresh water after each dive to remove any saltwater residue.
- Dry Completely: Dry the regulator completely before storing it.
- Store in a Cool, Dry Place: Store the regulator in a cool, dry place away from direct sunlight.
- Use a Regulator Bag: Consider using a regulator bag for protection.
- Schedule Professional Servicing: Schedule professional servicing according to the manufacturer's recommendations (typically every year or 100 dives).

Tip: Hang the regulator by the first stage to allow any water to drain out.
When to Seek Professional Help
This guide covers basic regulator maintenance. However, there are certain situations where professional servicing is required.
- Major Damage: If your regulator has suffered major damage, such as a cracked housing or a broken valve, it should be serviced by a professional.
- Persistent Leaks: If you are unable to stop a leak after tightening the connections and replacing the o-rings, take the regulator to a professional.
- Difficulty Breathing: If you experience difficulty breathing through your regulator, it should be serviced by a professional.
- Unusual Noises: If you hear any unusual noises coming from your regulator, such as hissing or squealing, take it to a professional.
- Yearly Servicing: It is recommended to have your regulator professionally serviced every year or 100 dives, whichever comes first.
Tip: Find a certified regulator technician who is experienced in servicing your specific brand and model of regulator.
Conclusion: Dive Safe, Dive Happy!
Regular regulator maintenance is essential for ensuring your safety and enjoyment while scuba diving. By following the steps outlined in this guide, you can keep your regulator in top condition and avoid costly repairs. So, take the time to give your regulator the care it deserves, and dive safe, dive happy!
Now that you're equipped with the knowledge to maintain your regulator, we encourage you to put it into practice! Don't forget to subscribe to our blog for more helpful diving tips and tricks. Share this post with your fellow divers, and leave a comment below to let us know about your regulator maintenance experiences! Happy diving!